Mouse AU! @sidespromptblog Had A Prompt talking Abut Mouse!Logan So Of COURSE I Thought Of The Rats
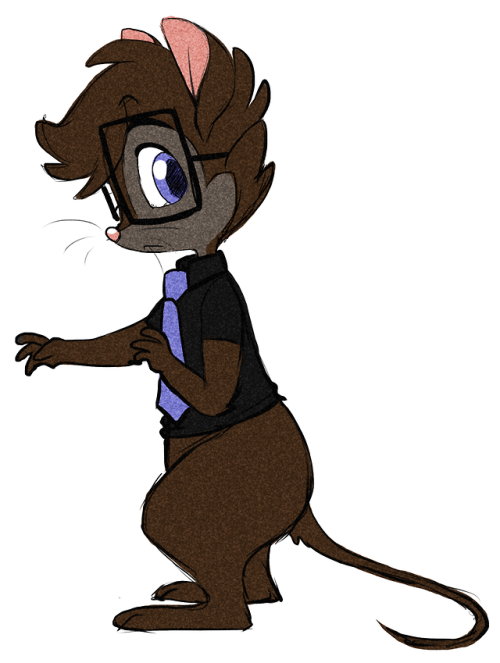
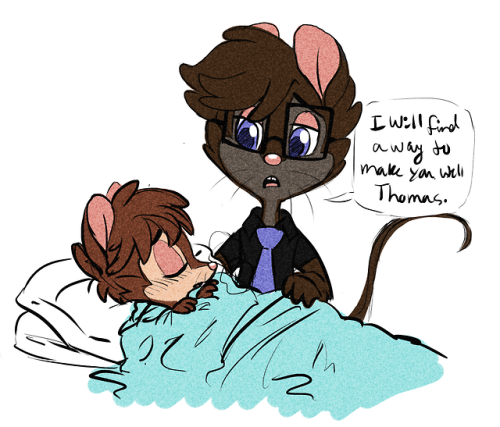
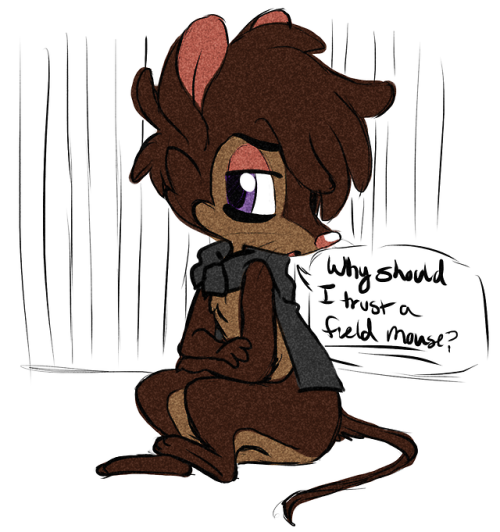
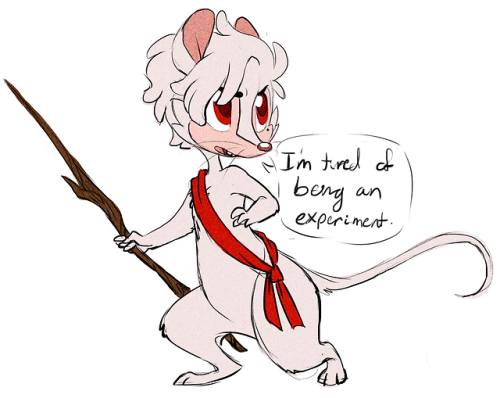
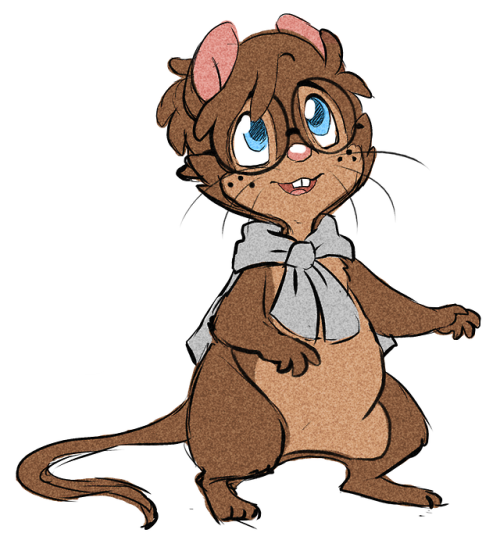

Mouse AU! @sidespromptblog had a prompt talking abut Mouse!Logan so of COURSE I thought of the Rats of NIMH! I really love that book/movie and I wanted to have a spin on it’s main concepts with a twist!
AU information under the cut! (calmd/dlamp)
Keep reading
More Posts from Fandomphantom1 and Others


how to grow the fuck up
I think there’s an argument to be made that protecting the children from relatively tame shadows of adults concepts actually makes things worse for them.
Like nothing is worse for me as an adult than the entirely unwarranted and unwanted sense of fear or scandalization from perfectly common stuff. And I don’t blame some wonderful TV show for using the word “fuck” or showing a nipple. My responses to those things are entirely constructed and cultural, and those shows are often doing me a kindness by giving me a context in which to safely re-examine them and my relationship to them.
And I just think actually there were a lot more opportunities to have a well adjusted outlook on life for the kids whose parents just told them what fuck meant.
Outertale Flames Tutorial~
A follow-up to this ask!! I apologize if any of this is unclear, I’ve never done a tutorial before XP ALSO - I do all of my stuff in PaintTool Sai, so some layer modes might not match for those of you with other programs!

1) First things first, I color everything in the dark blue in my color palette. This is the darkest color I’m going to use, everything is lighter from here.

2) In a new clipping layer above the base color, I use either an airbrush or a watercolor brush to add a bit of light to the lower half of the face. I use the lightest blue on the palette, and the layer mode is set to “Lumi & Shade”

3) Next I color the eyes and mouth if needed. I use the same light blue on a new layer. The opacity is set to around 80% and the layer mode is “Lumi & Shade” again.

4) On to the purple! New layer, also on “Lumi & Shade”, and I use an airbrush or watercolor tool. I basically do what I did for the lower face, except the purple is coming down from the top.

5) New layer! This time it will be set to “Overlay” and I use the pink! With a regular brush. When I am doing this, I want the pink to sort of swirl out from his forehead and travel in whatever direction his flames are angled. I then take a blur tool, and very lightly blur the ends, just to make it look a little neater.

6) New layer again! No layer mode this time (you can totally put it on a layer mode, I just prefer not to). I use the same brush tool as I did with the pink and do the same thing with the yellow. Swirl it up from the forehead and in the direction of the flames.

7) New layer! “Lumi & Shade” 80%(ish) Opacity! Same thing with the pink and yellow! There will be less room, so I also put a little streak down on his neck.

8) This step is optional, I just do it to give the color a little more vibrancy. I run each color over itself with a big airbrush in a new “Overlay” layer. It helps harmonize the colors in a way.

9) S P A R K L E S This is on a new layer, the mode is set to “Luminosity”. Then on a new “Lumi & Shade” layer, I airbrush some of the light blue over the eyes to make them glow.

10) LAST STEP! On a new clipping layer above the lines, I use a darker variant of each color to color the lineart. Above that, I make an “Overlay” layer and draw on the lenses of the glasses with white.

And that’s it! You now have a glittery star boy. I hope this was helpful! Honestly, this is just how I do it, you can do it any way you want. If there’s any confusion, I’ll do my best to clear it up :D
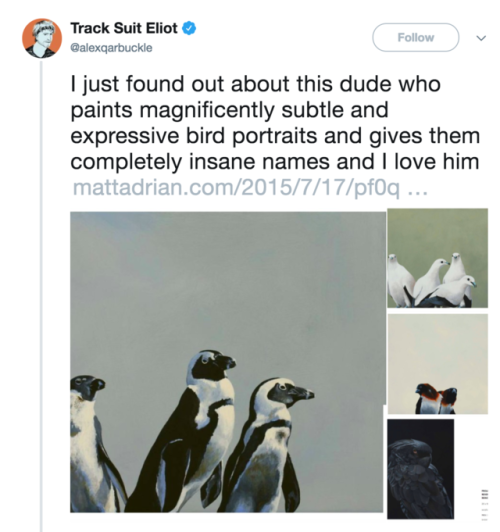
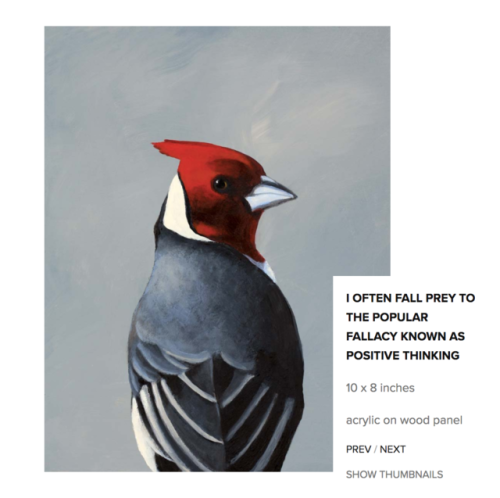
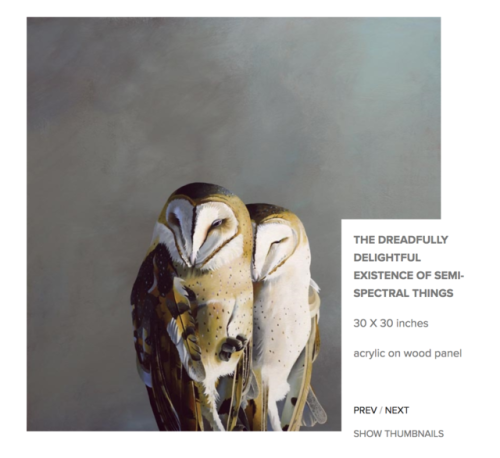
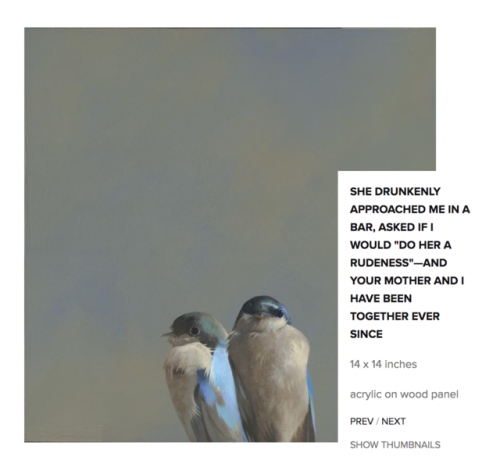

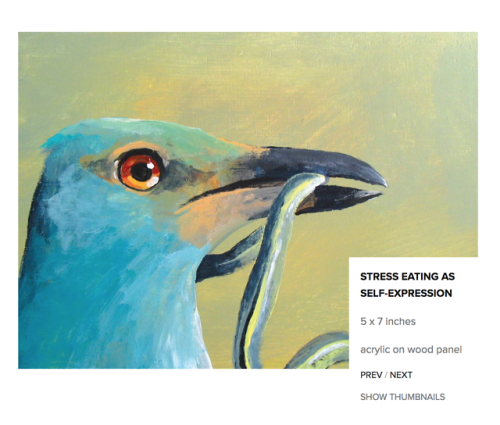

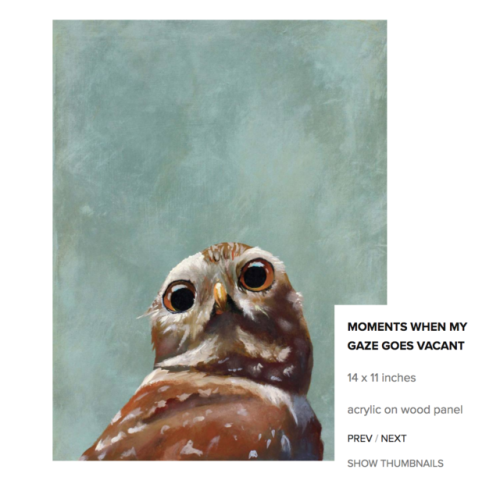
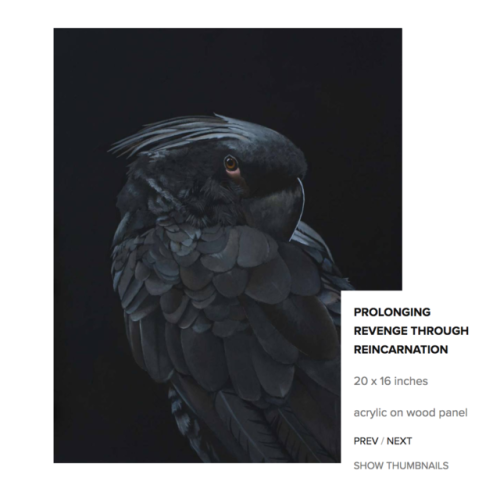
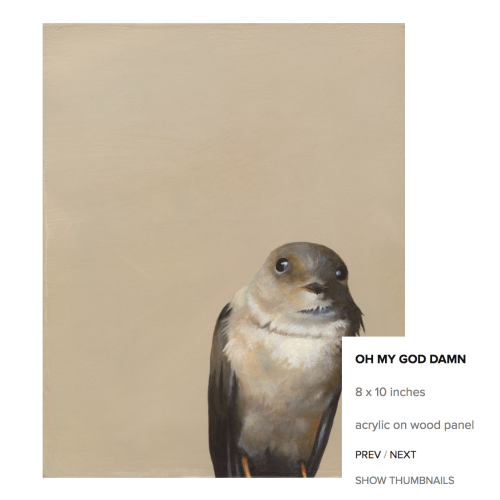

Tag yourself I’m the “Overdressed and Underappreciated”. Artist : http://www.mattadrian.com/
excuse mlem ?

Writing Prompt #2721
"You aren't going to do anything stupid, are you?"
"Oh, incredibly. You probably want to join me just in case."
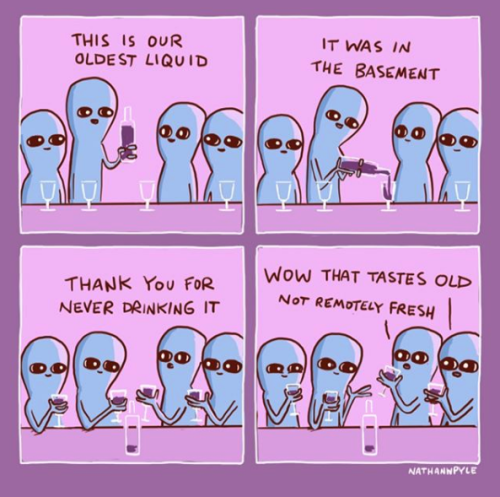
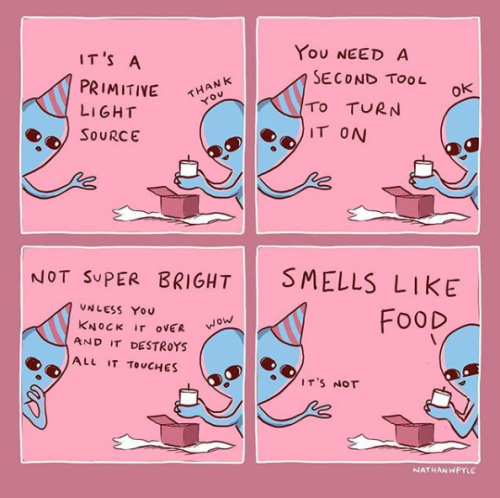
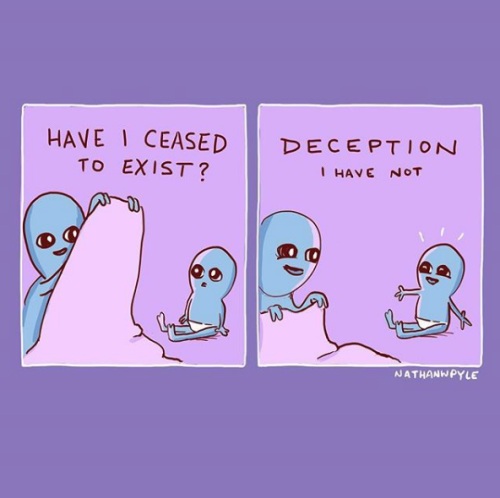
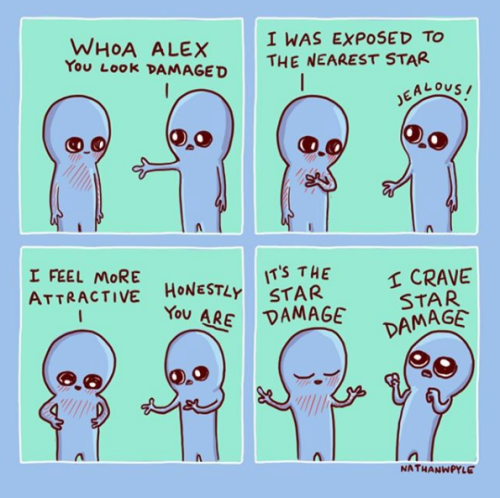
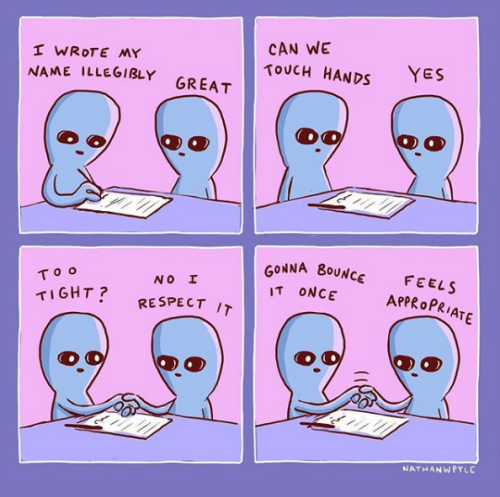
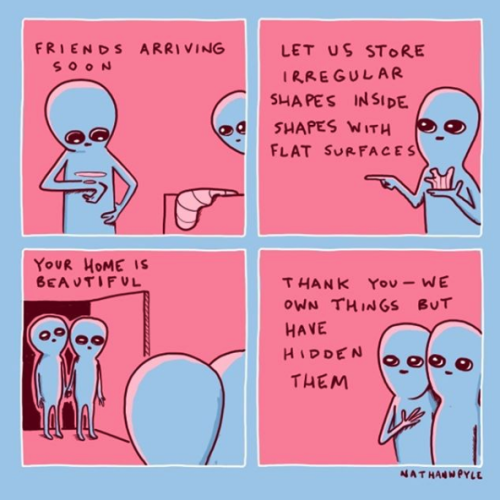
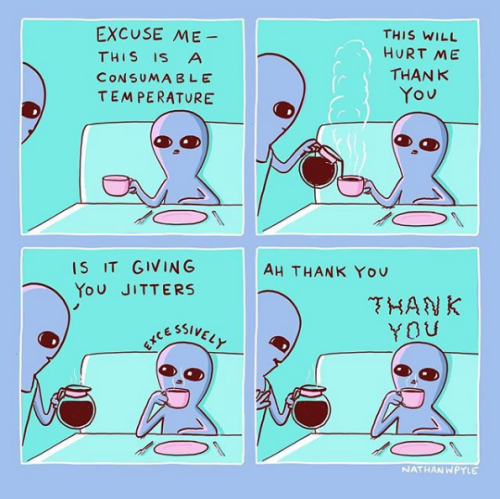
I love these comics by Nathan W. Pyle.

-
 hecateslove reblogged this · 3 months ago
 -
hecateslove liked this · 3 months ago
-
 fortunatelysweetwonderland liked this · 5 months ago
 -
 destiny-in-the-universe liked this · 7 months ago
 -
 miss-artsylady liked this · 8 months ago
 -
 wikithewikipedia reblogged this · 9 months ago
 -
wikithewikipedia liked this · 9 months ago
-
 silvery-stars-above liked this · 9 months ago
 -
 flowtatoexd liked this · 10 months ago
 -
 sealover89 reblogged this · 10 months ago
 -
 gear-cat114 liked this · 11 months ago
 -
 keitaisghost liked this · 1 year ago
 -
 floofballsammy liked this · 1 year ago
 -
 fandomphantom1 reblogged this · 1 year ago
 -
fandomphantom1 liked this · 1 year ago
-
 doctorgeekforever liked this · 1 year ago
 -
 kakotun liked this · 1 year ago
 -
 certified-bi reblogged this · 1 year ago
 -
 coldhologramheart liked this · 1 year ago
 -
 determination-saved liked this · 1 year ago
 -
 sweetsinnerboy reblogged this · 1 year ago
 -
 alex-a-toothpastedragoneer reblogged this · 1 year ago
 -
alex-a-toothpastedragoneer liked this · 1 year ago
-
destiny-in-the-universe reblogged this · 1 year ago
-
 imdonewiththisblogsblog liked this · 1 year ago
 -
 callmedoodlekid liked this · 1 year ago
 -
 ladyartemisia28 liked this · 1 year ago
 -
 roseburrito4731 liked this · 1 year ago
 -
 elementalshadowwitch reblogged this · 1 year ago
 -
 colorfulcollectordragon-2f8ee55c reblogged this · 1 year ago
 -
 frogrock07 liked this · 1 year ago
 -
 lavendergate liked this · 2 years ago
 -
 living-in-a-veil liked this · 2 years ago
 -
gharihel liked this · 2 years ago
-
 enigma-imagines liked this · 2 years ago
 -
 tutuoracle liked this · 2 years ago
 -
 tardis777 liked this · 2 years ago
 -
 ocelotwings liked this · 2 years ago
 -
 musicmadeoflovegirl reblogged this · 2 years ago
 -
 rubyred05 liked this · 2 years ago
 -
 geminimoon14 reblogged this · 2 years ago
 -
geminimoon14 liked this · 2 years ago
-
 skeletinmoss liked this · 2 years ago
 -
destiny-in-the-universe reblogged this · 2 years ago
-
 pinkdogplushie reblogged this · 2 years ago
 -
pinkdogplushie liked this · 2 years ago
-
 micequeer liked this · 2 years ago
 -
 soar1ngtraveler liked this · 2 years ago