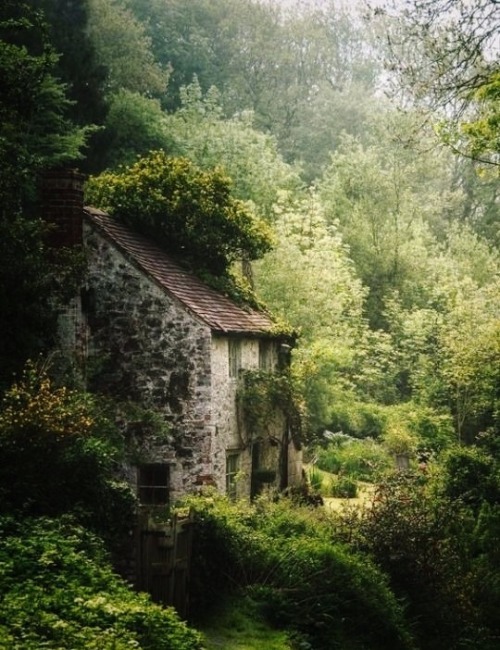
Autumnal
Autumnal
More Posts from The-reconing and Others


TRANHUNG Couture 2019


Temari is jast awesome 😤
It belongs in a museum,I think


(im not very good at explaining things so this will be pretty picture (and gif) heavy, if you need anything explaining better feel free to ask!)
how to make a gif transition like this:

1. Make the gifs you’ll be using for the set, for this tutorial ill be using two random allison gifs i made. do whatever colouring you want here (unless you plan to use the same colouring on both gifs ig)


you’ll want them to be around the same length, maybe just slightly longer if one gif has to run over a bit more
2. Find, download (if you haven’t already) and duplicate your overlay into both gifs. In one of them: invert the overlay. set both to lighten
I’m using this overlay by @octomoosey for this tutortial (they have lots of great overlays to check out along with this one)
this is what the bottom gif settings looks like

(yes the overlay is shorter than the gif but it should work out okay - you’ll see why later)
and heres the top gif

and the finished results of both gifs


3. Save these gifs and reopen them, duplicate your top gif onto the bottom gif

4. Set the top gif to multiply, and adjust the gifs so this doesn’t happen (just drag ending the top gif to where the overlay finishes and it should work out fine - this doesn’t always happen when making these gifs - just something to keep an eye on)

(these are what my settings look like now)

5. play it through to make sure its working, save it, and voila, you’re done!
If you ever wanted to know how to properly do a 2d character turn, my friend max and I made a video showing you how to use the photoshop timeline to create a rotation of your characters. this can be applied to almost any type of character design. you can watch the full video here on our youtube page.
https://youtu.be/yvUkaBhwAFY
-
 buniverse28 reblogged this · 2 weeks ago
 -
 myinsidejoke liked this · 2 weeks ago
 -
 randomblabdom liked this · 2 weeks ago
 -
 coal-wings-and-cold-fronts reblogged this · 2 weeks ago
 -
 lady-larklight reblogged this · 2 weeks ago
 -
 zanz-kun liked this · 2 weeks ago
 -
 fluidalphasub liked this · 2 weeks ago
 -
 thegirldownthelaine reblogged this · 2 weeks ago
 -
thegirldownthelaine liked this · 2 weeks ago
-
 morfinwen liked this · 2 weeks ago
 -
 tiberiususn liked this · 2 weeks ago
 -
 saltynutstarfish liked this · 2 weeks ago
 -
 outofcontextlex reblogged this · 2 weeks ago
 -
 berryblu-arts liked this · 2 weeks ago
 -
 choatic-bumblebee-agenda reblogged this · 2 weeks ago
 -
 i-am-phroggie liked this · 2 weeks ago
 -
 wrenchinator-central reblogged this · 2 weeks ago
 -
 autumnal-thunder reblogged this · 2 weeks ago
 -
 vanvietvor liked this · 2 weeks ago
 -
 i-am-a-freg liked this · 2 weeks ago
 -
 corvidae-quills reblogged this · 2 weeks ago
 -
 vivid-daze reblogged this · 2 weeks ago
 -
 azura-fox reblogged this · 2 weeks ago
 -
 archer-bro reblogged this · 2 weeks ago
 -
 blackhelms-helmets reblogged this · 2 weeks ago
 -
 christ-chan-official reblogged this · 2 weeks ago
 -
 frangipani-wanderlust reblogged this · 2 weeks ago
 -
blackhelms-helmets liked this · 2 weeks ago
-
 eclectichellmouth reblogged this · 2 weeks ago
 -
 fiskere liked this · 2 weeks ago
 -
 lordribs2 reblogged this · 2 weeks ago
 -
nannyseekingsanity liked this · 3 weeks ago
-
 the-reconing reblogged this · 3 weeks ago
 -
 doomguybi liked this · 1 month ago
 -
 zillychu liked this · 1 month ago
 -
 ladyygrace liked this · 1 month ago
 -
 alydkyne liked this · 1 month ago
 -
 bluevelvetbikini reblogged this · 1 month ago
 -
bluevelvetbikini liked this · 1 month ago
-
 adwbs reblogged this · 1 month ago
 -
 notarealwelder liked this · 1 month ago
 -
 unsupervisedrat liked this · 1 month ago
 -
 youarenotthewalrus liked this · 1 month ago
 -
 withoutsurcease liked this · 1 month ago
 -
 vaguely-none liked this · 1 month ago
 -
 ineffablegender reblogged this · 1 month ago
 -
 sufficientlylargen liked this · 1 month ago
 -
 monometalloid reblogged this · 1 month ago
 -
 shacklesburst reblogged this · 1 month ago